Give pizza night a new twist by making spicy Chapli Kebab Pizza (Heavenly Double TREAT)!!
Monday nights are for creativity. Or maybe, you’re like me and just have leftover Chapli Kebab’s wasting away in your fridge. Pinterest gave me the inspiration I needed to take dinner from a boring pizza night to an Italian-Pakistani Twist.
This Chapli Kebab Pizza is my Pakistanized pizza makeover…..you could say that this is an Pakistani-Italian delight….hey, fusion food is the latest fad. A delicious and easy to make pizza with crispy, juicy chapli kebab’s and melty mozzarella cheese! It is sure to be a hit!

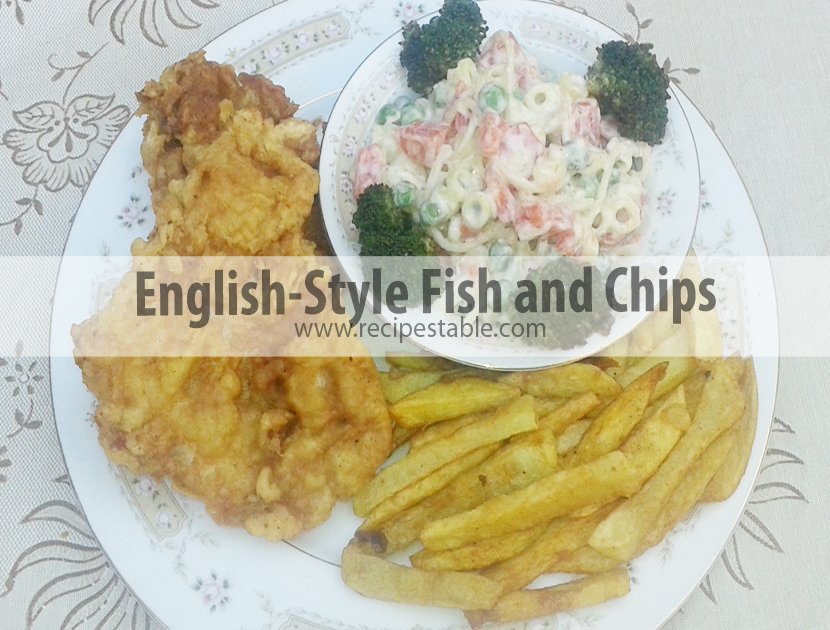
Photo: Chapli Kebab Pizza
Chapli Kebab Pizza
This pizza is so easy to make with left over Chapli Kebab’s with the cheesy topping….nobody could resist. I added dried Italian herbs to the pizza base and that gave a subtle Italian flavor with the Pakistani flavored topping. And just followed my heart to a logical conclusion. I took the shortcut and used the Chili Garlic sauce in place of pizza sauce and lessen cheese to keep it healthy and low fat( you can add more cheese). Well… I needn’t explain what the result was. The recipe finding its place in this blog itself says it all….. Right???

So why go to pizza hut…when you can make healthy homemade ones?? This pizza was a huge hit with my family try it…you will love me more, honestly 🙂

Photo: Chapli Kebab Pizza
Bismillah, Let’s get started!
Check it out the Chapli Kebab Pizza recipe and printable version below.
Recipe Note’s:
I am a firm believer that every oven is different and you should check on your food periodically to make sure it is cooking properly.

Put your own spin on it. And lemme know how it turns out by sharing a picture on Instagram, Facebook (Recipestable) or Twitter with this hashtag #Recipestable so I can see how lovely yours turn out.
Happy Baking!!
If you like this post, Please Subscribe to my blog and let me know your feedback by commenting below.. I have lots more recipes to share with you.