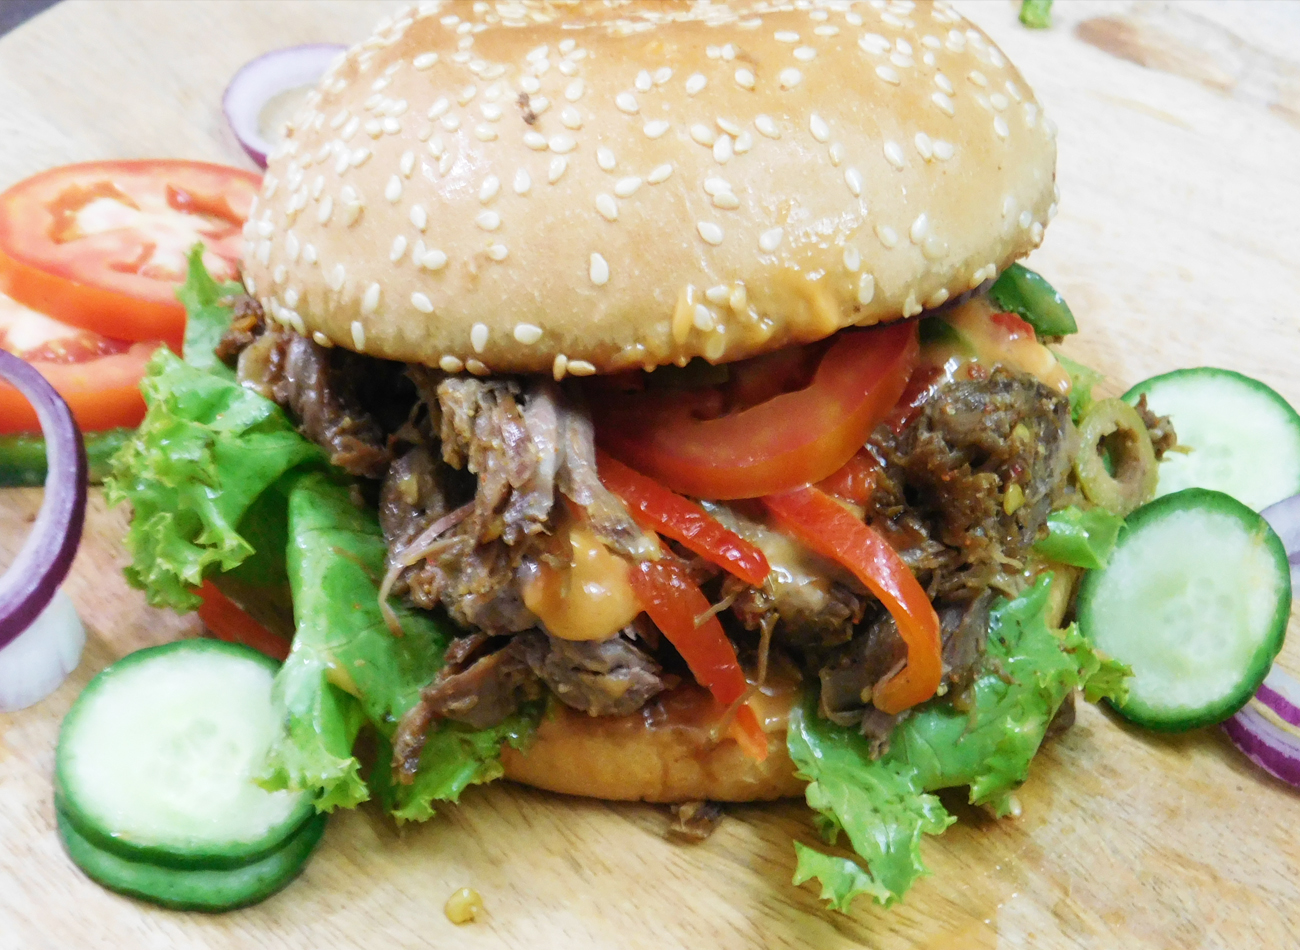
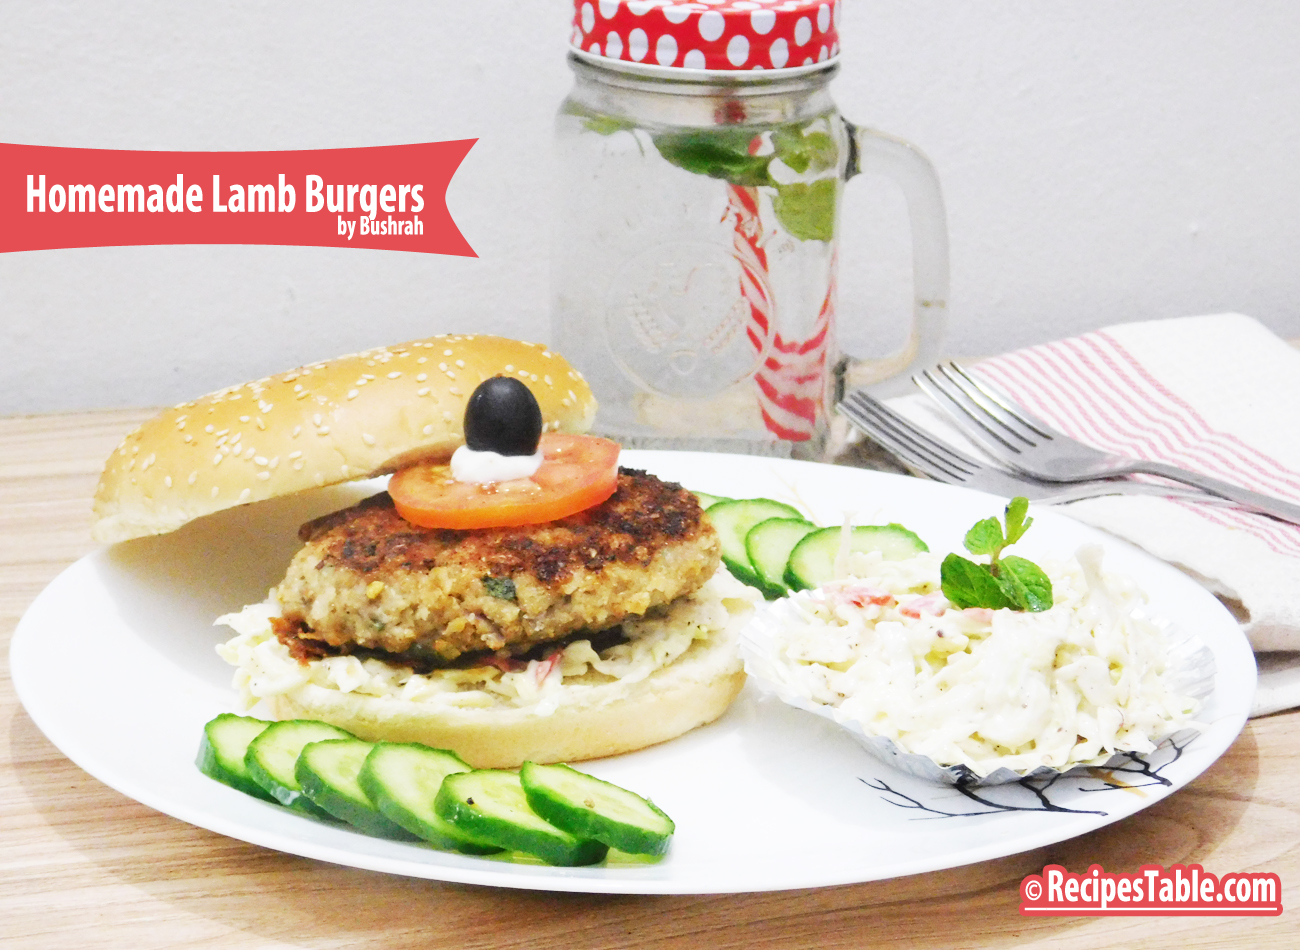
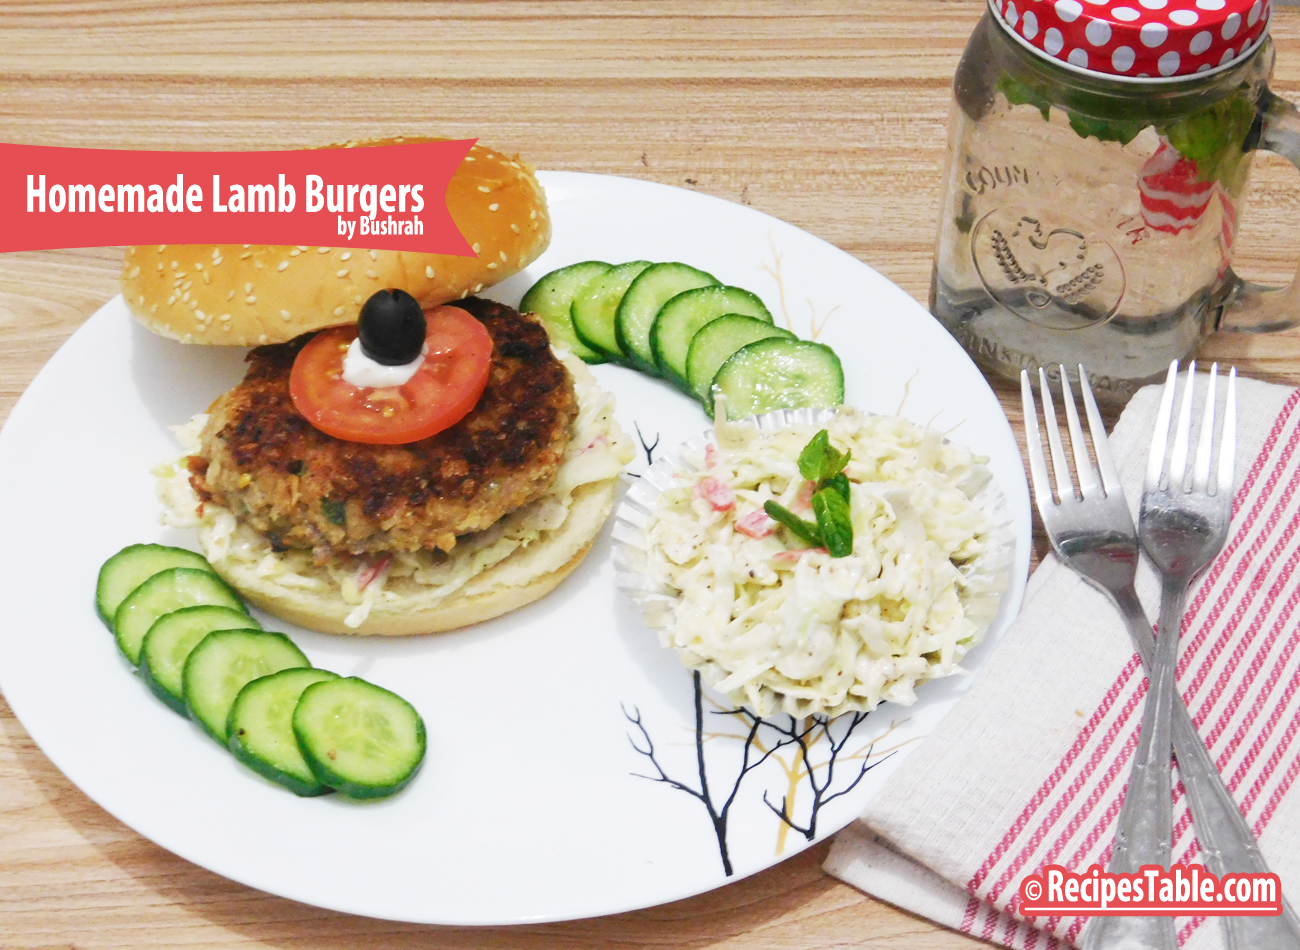
Imagine if you will that a lamb meat patty married a corn fritter and they had babies = Lamb corn Fritters. I’m not sure why I hadn’t thought of this sooner. They are healthier than regular lamb fritters; being half meat and half veggie and they are super juicy and flavorful.

Here’s a healthy recipe for Lamb Corn Fritters – without deep frying! Because nobody likes soggy fritters. And nobody wants to deal with a vat of oil tonight! Dinner really doesn’t get any easier than this! These Lamb Corn Fritters are so easy, you can practically whip up these juicy fritters in no time!
These fritters are ideal to make with fresh corn cut off the cob, but can be made with canned or frozen corn. Serve for breakfast, lunch, dinner!

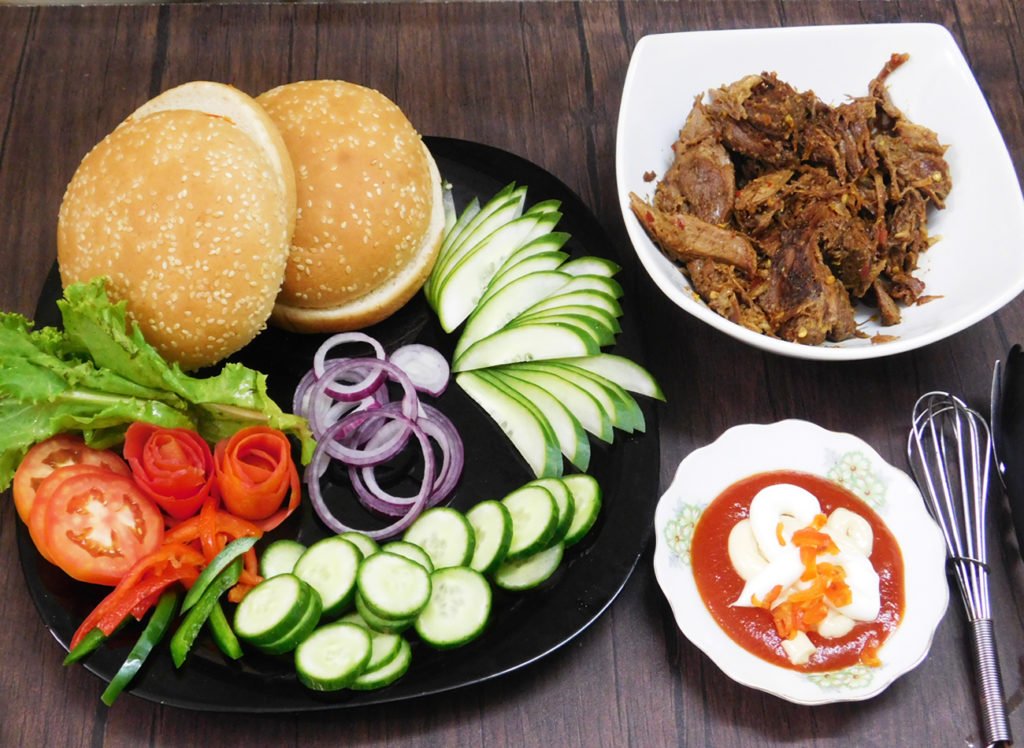
What you need to make really great, Lamb Corn Fritters
Here’s what you need to make these Lamb Corn fritters:
Ground Lamb: I like to grind my lamb at a ratio of about 80% lean. I feel this brings out the most flavor. The best places to buy fresh ground lamb is your local butcher shop. If you want to use lamb, ask your butcher to grind it for you or, to make your own ground lamb, start with a lean cut. You can also use lean ground beef or turkey instead.
Corn: as noted above, fresh is better for both flavor and crispiness. But canned and frozen work too, you just need to make an effort to dry it out as much as you can.
Egg: egg to bind the meat and corns. It will help to get mince to stick together better.
Ricotta Cheese: – for a good hit of savory flavor AND to make the fritters extra juicy and flavorful!
Green Masala: Green onion, green chilies and coriander – for a hit of freshness.
Seasoning: salt, black pepper and red pepper flakes (my fav)
Olive oil: to sauté
How to make Lamb Corn Fritters
And here’s how to make them.
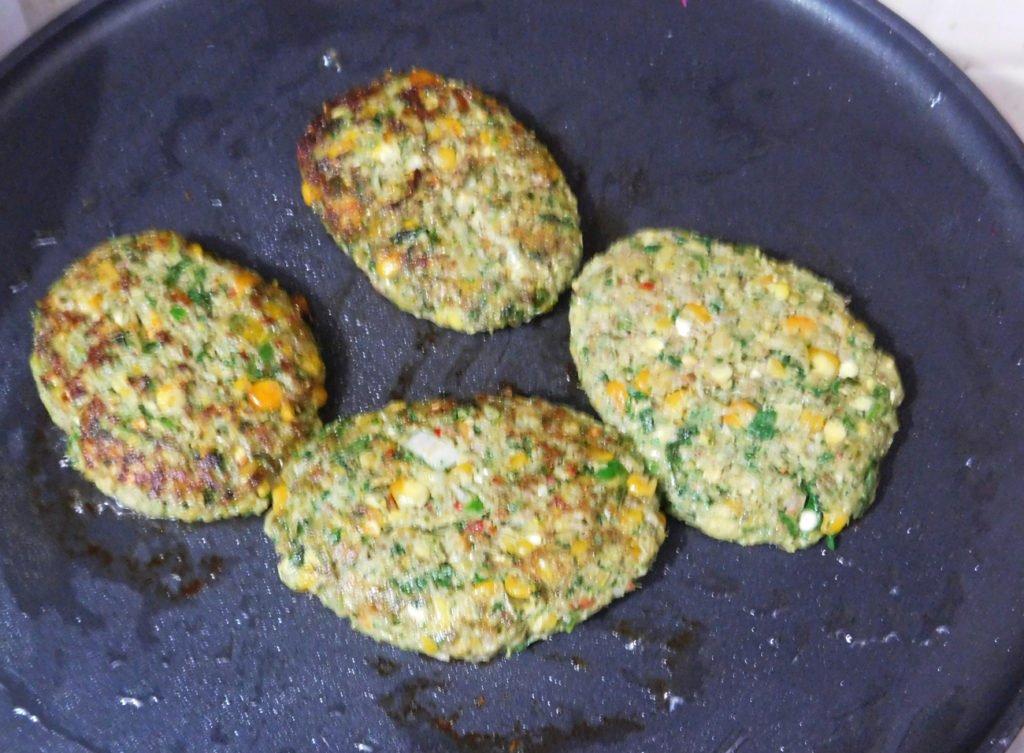
- Mixing: Place lamb mince and corn in a bowl. Then add 1 lb fresh ground lamb. 1 egg, finely sliced green chilies, green onions, fresh coriander, salt, black pepper, red pepper and 1 cup ricotta cheese. Mix until well combined. Let it rest for 15 minutes.
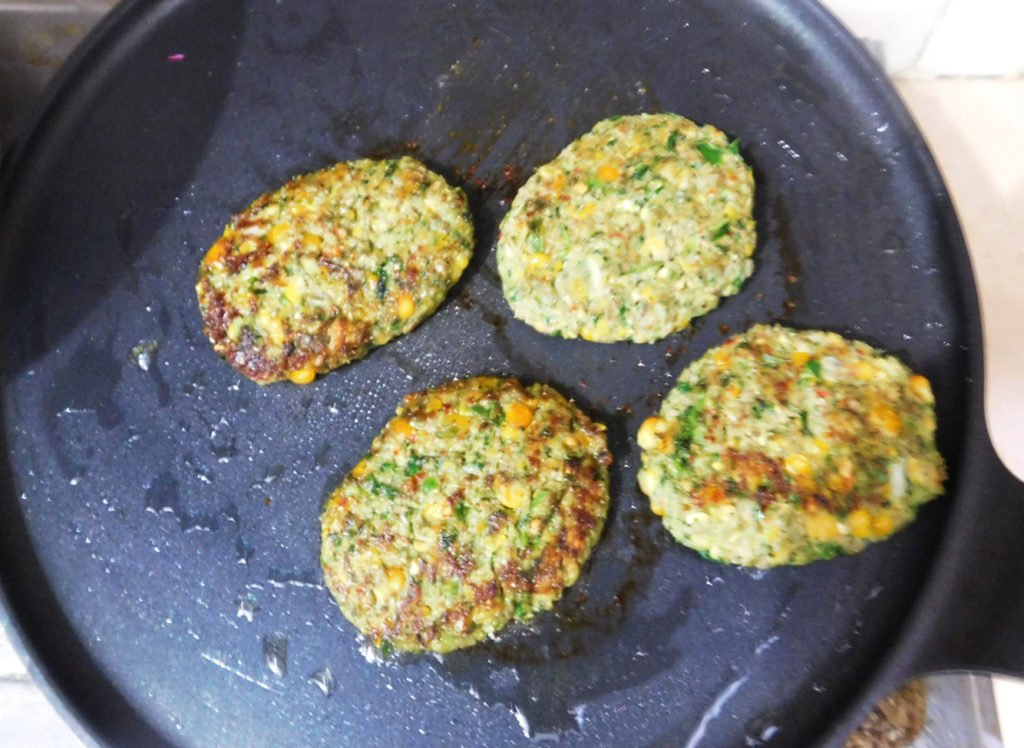
- Cooking: Heat a large non-stick skillet over medium heat and add 2 Tbsp. extra light olive oil. Place a heaping tablespoon of the mixture into your hand and form a oval or round shaped patty about 1/3-inch thick. Cook over medium heat uncovered for 5-7 minutes, then flip, cover and cook for another 5 minutes more or until meat cooked through. Add more oil to the pan as needed for subsequent batches.
- The fritters take a good 12-15 minutes to cook so they’re golden on the outside and for the raw meat to cook through (remember, these are fritters so they are not very thick).
- Pro Tip: You can use an ice cream scooper with a lever to scoop the batter into the pan. Then flatten using a greased spatula! But don’t crowd the skillet, adding more oil to pan if required.
How to serve corn fritters
Corn fritters is one of those rare foods that truly spans the breakfast-lunch-dinner spectrum! Here’s how to serve it.
- stack of 4 corn fritters topped with poached or pan fried egg (runny yolks of course!)
- dollop of sour cream or yogurt – or go all out with Jalapeno Cream Sauce
- optional extras: side of toast or bun (try this simple Buttermilk Rolls
- finishes: small side of lightly dressed leafy green salad
- To make it a meal, the bread fills it out nicely, though you could opt for a big salad instead – try one of these: Crunchy Pickled Kachumber Salad, Bean Salad with Olives and Herbs, Russian Macaroni Salad ,Apple and Orange Salad
Though having suggested those various ways to serve it, the reality is that you will want to snatch them fresh off the stove, before you’ve even had a chance to plate them up properly. And that’s totally ok too! – Bushra

Bismillah let’s get started.
Check it out The Lamb Corn Fritters Recipe and printable version here!!
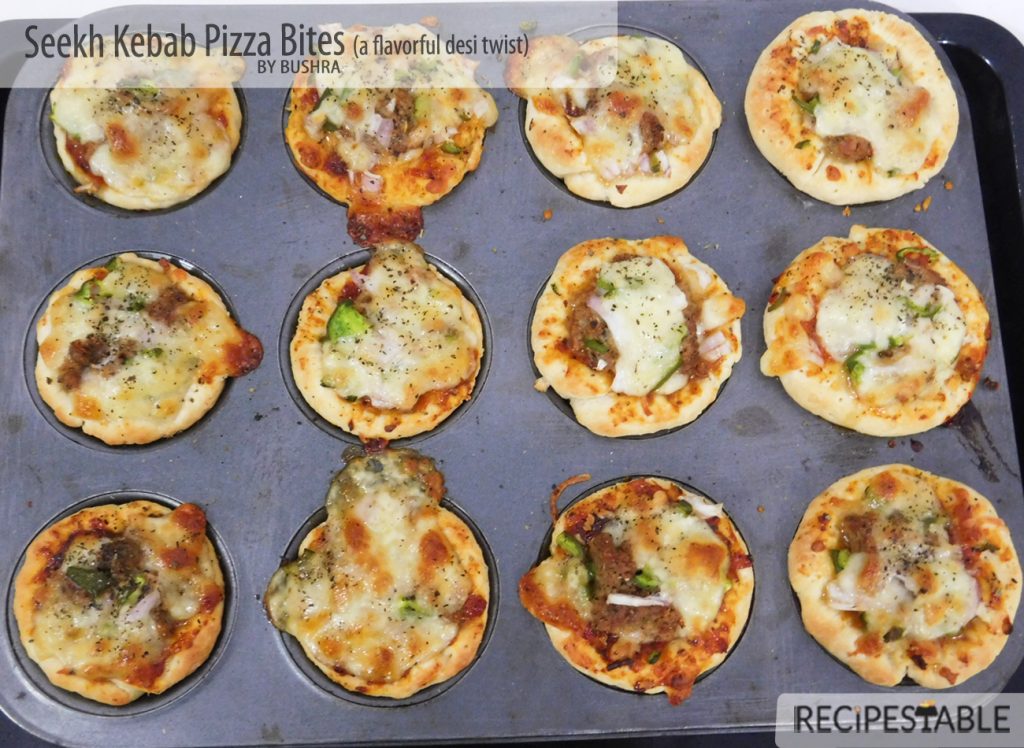
Want more Fritters recipes?
If you’re looking for more fritters inspiration, here are a few more of my faves:
Hope that you all enjoy this one as much as we have! Cheers!
HUNGRY FOR MORE? Subscribe to my newsletter and follow along on Facebook, Pinterest and Instagram for all of the latest updates.
Pin it For Later