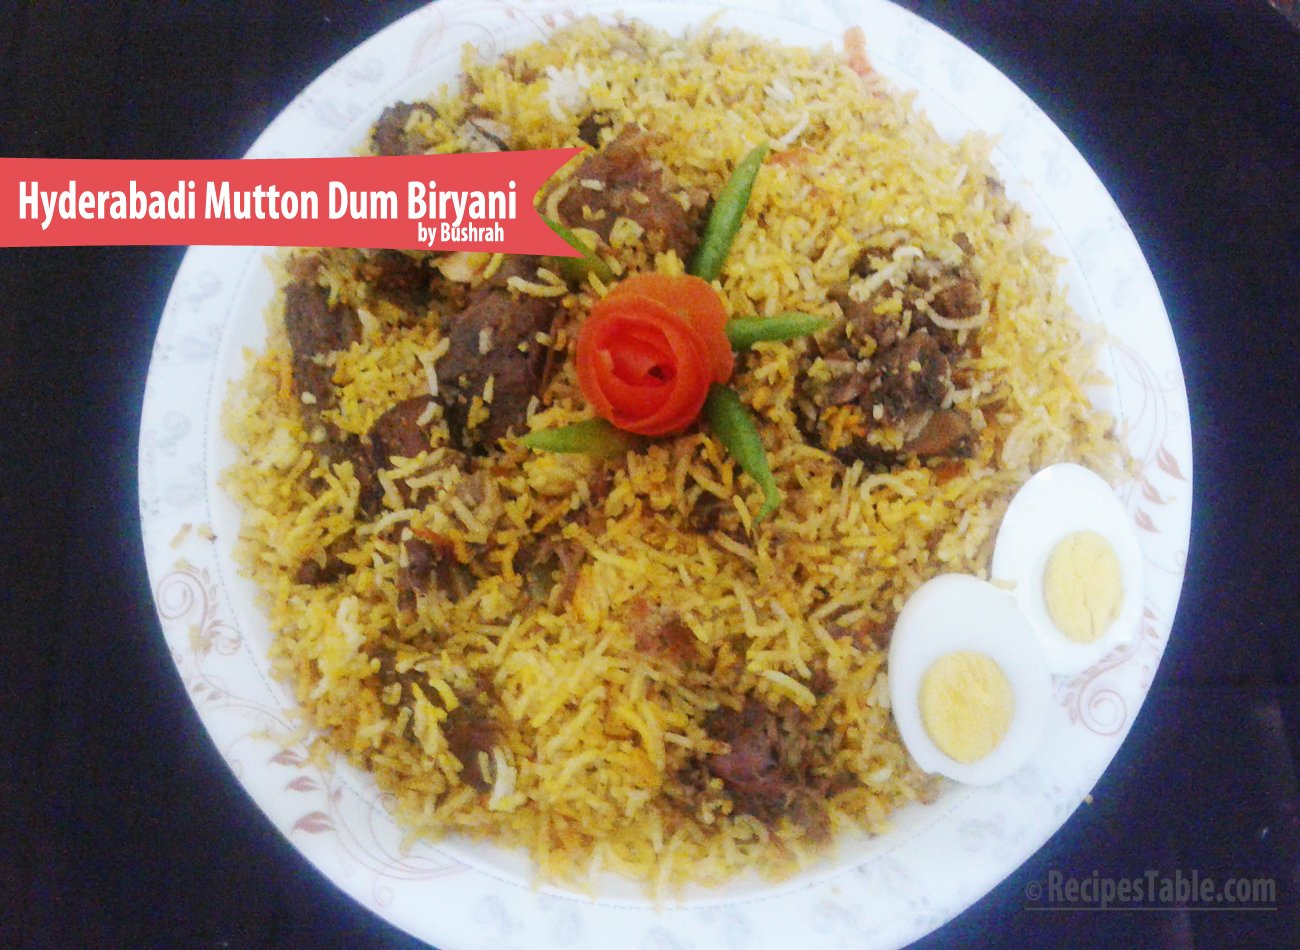
Hyderabadi Mutton Dum Biryani
Hyderabadi Mutton Dum Biryani is the king of all biryani’s. It is a mixture of original Andhra cuisine and Hyderabadi cuisine, having Mughlai influence.
A delicious lip smacking delicacy Hyderabadi Mutton Biryani, cooked the same way it’s cooked in restaurants, with Dum (cooking both Mutton and Rice together in layers). Do try this Hyderabadi Mutton Dum Biryani Recipe, you’ll love it.


Check it out the Hyderabadi Mutton Dum Biryani Recipe here!!
[one_fourth]Prep Time:30 minutes[/one_fourth] [one_fourth]Cook Time:1 hour 30 minutes[/one_fourth] [one_fourth]Servings: 4[/one_fourth] [one_fourth_last]Difficulty Level: Medium[/one_fourth_last]
[tabs =”h1″ ]
[tab title=”Ingredients” ]
For Mutton Marination:
- 500 gm mutton
- 1/2 cup desi ghee or clarified butter
- 2 tablespoon ginger garlic paste
- 4 tablespoon plain yogurt
- 1 teaspoon cumin powder
- 1 teaspoon green chili paste
- 1 teaspoon red chili powder
- 1 teaspoon coriander powder
- 1/8 teaspoon turmeric powder
For Biryani
- 500 gm basmati rice
- 2 Onions, thinly sliced
- 2 bay leaves
- 5 cloves
- 1 teaspoon roasted cumin seeds
- 2 cinnamon sticks
- 4 whole black pepepr
- 2 black cardamom
- 1 bunch mint leaves
- 1/4 cup cashew nuts
- 2 tablespoon milk
- 1/4 teaspoon yellow food color
For Garnishing
- 2 tablespoon fresh coriander leaves
- 2 tablespoon mint leaves
- lemon wedges
[/tab]
[tab title=”Nutrition” ]
Yield: 4 servings
Nutritional information is not yet available.
[/tab]
[/tabs]
Directions:
[tabs style=”h1″ ]
[tab title=”Step by Step Method ” ]
Step 1
To Make Mutton Marination:
Place mutton masala ingredients except ghee in a large bowl. Mix well.
Step 2
Cover and marinate for 2 hours.
Step 3
Meanwhile soak rice in cold water for 30 minutes.
Step 4
Heat ghee in an earthen pot or heavy bottom pot over medium heat.
Step 5
Add onions and fry for 5-8 minutes or until they turn golden brown and crispy.
Step 6
Remove from the oil and keep aside.
Step 7
Now fry the cashew nuts in remaining ghee for few seconds until lightly browned.
Note: Don’t burn them.
Step 8
Now add bay leaves, cloves, cardamom,whole black pepper and cinnamon sticks.
Step 9
Saute for few seconds then add the marinated mutton pieces.
Step 10
Cover the pot and simmer for 1 hour or until meat is almost tender and gravy is thickened.
Step 11
Meanwhile, cook the soaked rice with salt till half boil.
Step 12
Drain the water and spread it on a large dish and sprinkle clarified butter over the rice.
Step 13
Now put some mutton mixture in a large pot.
Step 14
Spead 1/2 boiled rice over the mutton.
Step 15
Sprinkle hald chopped mint leaves, coriander leaves and fried cashew nuts.
Step 16
Continue the process for all the layers till the rice and mutton is over.
Step 17
Drizzle food color in milk over the top.
Step 18
Top with fried crisp brown onions.
Step 19
Cover the pot and cook biryani on slow flame for the dum flavour 10-15 minutes or until the rice is cooked.
Step 20
Dish it out. Hyderabadi Mutton Dum Biryani is ready to serve. ENJOY!!
[/tab]
[tab title=”Serving Suggestions” ]Serve with mint raita, fresh green salad and boiled eggs.[/tab]
[/tabs]
If you like Hyderabadi Mutton Dum Biryani Recipe and make it then let me know your feedback by commenting below.And if you know more innovative ways in which we can utilize this mouth watering Hyderabadi Mutton Dum Biryani, do share with us and we would be glad to give it a try.
Pin It For Later